
Four Steps to Winterize Your Boat
When your boat is in for the winter, take these steps to make your spring launch a breeze.
So you have your boat in for the winter, you have it all cleaned up, with replacement parts ordered for any needed repairs, and you are ready to wrap it up for the rest of the season. Are there any last things you should do before you put it down for the winter? Yes, here are four very simple steps that will get you ready for spring and save you a ton of money verses having it done at the Marina.
Winterize Step One: Gather Your Gear
If you’ve been paying the marina big bucks to winterize your boat every fall, it’s time to do the job yourself and save some dough. An inboard/outboard is full of water, so if you don’t drain the water properly, it can freeze and cause major damage. However, in Victoria the temperature rarely falls low enough to completely freeze, so you may be able to skip the draining part (especially if you store your boat in heated storage).
The job isn’t hard, but we have to warn you: If you skip a step or miss a drain plug, you could wind up with a repair bill of at least $3,000 for a replacement engine. (And none of that cost will be covered by insurance.) So if you’re at all nervous, invest in a factory service manual to locate all the drain ports and cooling units.
Before you start the winterizing procedure, pick up a few gallons of RV antifreeze, a can of fogging oil, motor oil, an oil filter, lower-unit lube and drain plug gaskets, an oil suction pump and a lower-unit lube injection pump. Then gather up your screwdrivers, sockets and combination wrenches.
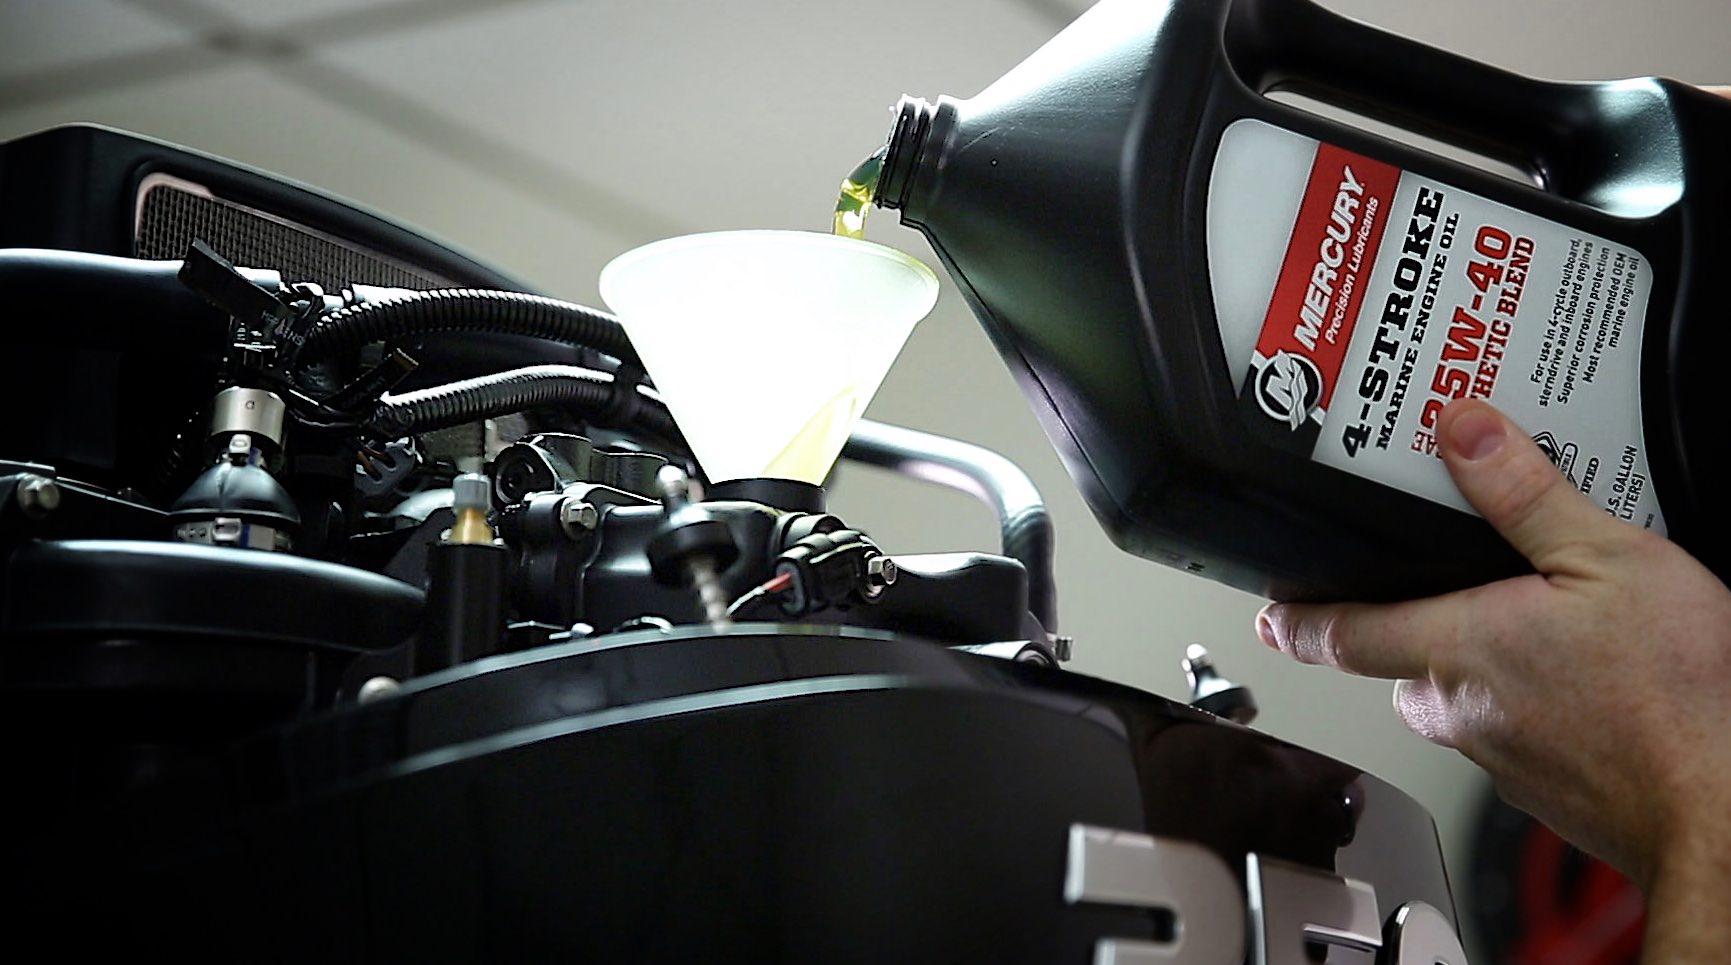
Winterize Step Two: Change Your Oil
Start by sucking out the oil and changing the filter. Oil suction pumps can be found at most auto parts stores. Then, drive the boat over to the marina and top off the gas tanks with non-oxygenated fuel. Add a marine fuel stabilizer to the tank and drive the boat to a landing. With the boat still in the water, remove the spark arrester from the carburetor and fog the engine. Then trailer it and perform the rest of the procedure on land.
Winterize Step Three: Drain the Coolant
Tip the trailer up and place a bucket under the hull drain plug. Then remove the plug and let all of the coolant drain.
Jump in the boat and start draining near the top of the engine. Remove the drain plugs (or the hoses) for the exhaust manifolds, power steering cooler, oil cooler (if necessary) and block drain plugs.
Leave the block drain plugs out, but reinstall all the other drain plugs and hoses. Then remove the thermostat or the hose attached to the thermostat housing and pour in RV antifreeze until it drains out the block drains. Once the antifreeze stops draining, reinstall the block drain plugs and the hull drain plug.
Winterize Step Four: Lube the Lower Unit
Once all of this is done you can cover it up and kill time before spring. You can rest assured that you are in prime position for boating come spring time.